
Gluten Free Bread Recipe for Bread Machine: How to Make Perfect Loaves
Table of Contents
Introduction
There’s something truly magical about the aroma of freshly baked bread filling your home. But for those of us navigating the gluten-free lifestyle, finding that perfect loaf can feel like an endless quest. Store-bought options are often disappointing—dry, crumbly, and with price tags that make your wallet weep. Trust me, I’ve been there!
When I first went gluten-free, I thought my days of enjoying soft, chewy sandwich bread were over. That is, until I discovered the game-changing combination of gluten-free flours and my trusty bread machine. The result? A homemade gluten-free bread that’s not just “good for being gluten-free” but genuinely delicious in its own right.
Today, I’m sharing my go-to gluten free bread recipe for bread machines one that produces a loaf with a tender crumb, beautiful rise, and that satisfying chew that’s so elusive in gluten-free baking. Whether you’re recently diagnosed with celiac disease, have gluten sensitivity, or are baking for someone who does, this recipe will revolutionize your bread game.
The best part? Your bread machine does most of the work, making this an accessible recipe even on your busiest days. So dust off that bread maker and get ready to enjoy gluten-free bread that doesn’t compromise on taste or texture!

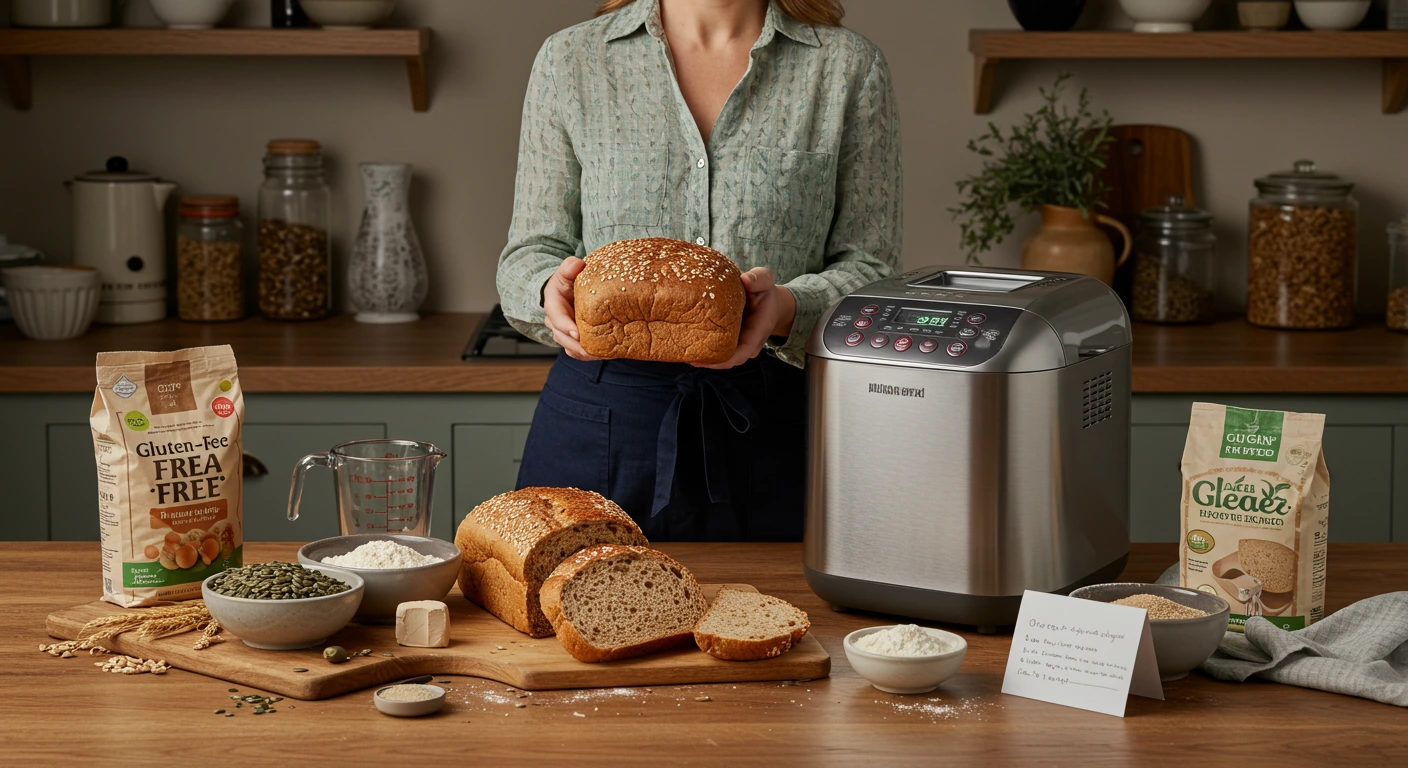
Why You Need a Bread Machine for Gluten Free Baking
If you’re on the fence about investing in a bread machine for your gluten-free baking journey, let me share why it’s been one of the best kitchen decisions I’ve made.
Gluten-free bread dough behaves differently than traditional wheat-based dough. Without gluten’s binding properties, the mixture is typically wetter, stickier, and more challenging to handle manually. A bread machine eliminates this hassle by containing the sticky dough and providing consistent mixing, kneading, and baking temperatures.
As Free to Be Gluten Free points out, while it might be tempting to hunt for a used bread machine at the thrift store to save money, investing in a new model specifically designed with gluten-free settings can make a significant difference in your results. Modern bread machines often have dedicated gluten-free cycles that account for the different mixing and rising needs of gluten-free dough.
Beyond the convenience factor, using a bread machine also helps maintain a more consistent environment for your bread to rise and bake, resulting in more reliable outcomes. This is especially valuable if you live in areas with extreme temperatures that might affect traditional bread making. As one baker noted on Jenuine Home, using a bread machine is “especially helpful if you live in places like Arizona… and you avoid all oven-baked type meals for 6 months of the year.”
The Cost-Saving Benefits of Homemade Gluten Free Bread
Let’s talk about something we’ve all experienced – the sticker shock of gluten-free bread at the grocery store. As the team at Jenuine Home so accurately puts it, “Buying a loaf of gluten free bread feels like it costs as much as a car payment each month.”
While that might be a slight exaggeration, the reality isn’t far off. A typical loaf of gluten-free bread can easily cost $6-9, and for a family, that adds up quickly. Consider this cost comparison between store-bought and homemade:
| Expense | Store-Bought Gluten Free Bread | Homemade Bread Machine Recipe |
|---|---|---|
| Cost per loaf | $6-9 | $2-4 |
| Weekly cost (2 loaves) | $12-18 | $4-8 |
| Monthly cost | $48-72 | $16-32 |
| Annual cost | $576-864 | $192-384 |
| Taste quality | Variable | Consistently fresh |
| Texture | Often dry and crumbly | Moist and chewy |
| Preservatives | Usually present | None |
As you can see, making your own bread could save you approximately $384-480 per year! Beyond the financial benefits, you’re also gaining control over the ingredients, flavors, and ultimately enjoying a superior product.
Perfect Gluten Free Bread Machine Recipe
Now, let’s get to the heart of what you came for – a foolproof gluten free bread recipe for your bread machine that delivers delicious results every time.
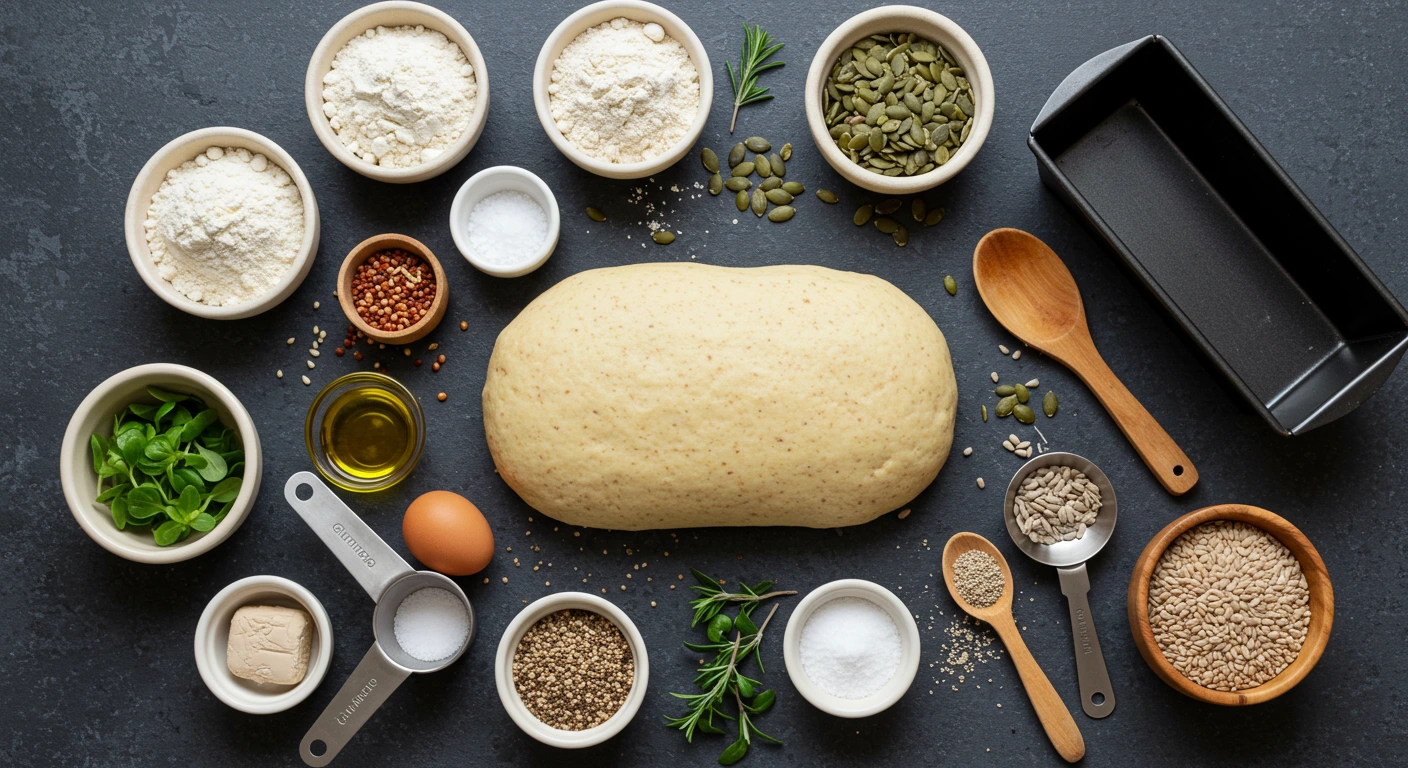
Ingredients:
Dry Ingredients:
- 3 cups gluten-free all-purpose flour blend (one that contains xanthan gum)
- 1/4 cup sugar
- 1 teaspoon salt
- 2 1/2 teaspoons instant yeast (bread machine yeast)
Wet Ingredients:
- 1 1/4 cups warm water (about $$\110°F$$)
- 3 large eggs, room temperature
- 1/4 cup oil (olive or vegetable)
- 1 teaspoon apple cider vinegar
- 2 tablespoons honey or maple syrup
Instructions:
- Prepare the bread pan: Lightly grease the bread pan of your machine.
- Add ingredients in order: Following the advice from Little House Living, add the wet ingredients to the bottom of the bread pan first, then add the dry ingredients on top. This ensures proper mixing.
- Create a well for the yeast: Make a small indentation in the flour mixture and add the yeast. This prevents the yeast from activating too soon by keeping it away from the liquid ingredients until the machine starts mixing.
- Select the right setting: Choose the gluten-free cycle on your bread machine if available. If not, a quick bread cycle or a cycle with a single rise works best for gluten-free bread.
- Start the machine: Close the lid and start the baking process.
- Check the dough: About 5 minutes into the mixing cycle, open the machine and use a rubber spatula to scrape down the sides if needed. The dough should resemble a thick cake batter rather than traditional bread dough.
- Let it bake: Allow the machine to complete its cycle.
- Remove and cool: Once baking is complete, promptly remove the bread from the pan and place it on a wire rack to cool completely before slicing.
Troubleshooting Your Gluten Free Bread Machine Loaf
Even with the best recipe, gluten-free baking can sometimes be tricky. Here are solutions to common problems:
Bread is too dense or heavy:
- Your liquid-to-flour ratio may be off. Gluten-free flours absorb moisture differently from wheat flour.
- Try reducing the flour slightly or adding 1-2 tablespoons more water.
- Check that your yeast is fresh and active.
Bread collapses during baking:
- Too much liquid in the dough can cause this issue.
- Try reducing water by 1-2 tablespoons next time.
- Consider adding 1 tablespoon more xanthan gum to provide better structure.
Bread doesn’t rise well:
- Ensure your yeast is fresh.
- Check the temperature of your liquids – too hot will kill the yeast, too cold won’t activate it.
- Make sure your machine is in a warm, draft-free location.
Crust is too hard or dark:
- Try reducing the baking time slightly if your machine allows customization.
- Brush the top with melted butter immediately after baking to soften the crust.
Bread is gummy in the center:
- This usually indicates underbaking.
- If your bread machine consistently produces gummy centers, consider using the dough cycle only, then baking the bread in a conventional oven.
- Ensure you’re letting the bread cool completely before slicing.
Customizing Your Gluten Free Bread Recipe
One of the joys of making homemade bread is the ability to customize it to your preferences. Here are some delicious variations to try:
Herb and Garlic Bread:
Add 1 tablespoon of dried Italian herbs and 2 minced garlic cloves to the dough for a savory loaf perfect for serving with pasta dishes.
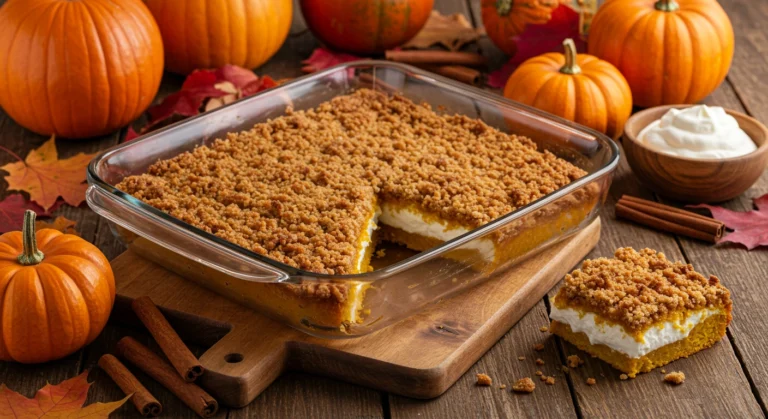
Cinnamon Raisin Bread:
Add 1 tablespoon of cinnamon and 1/2 cup of raisins to the dough. Increase the sugar to 1/3 cup for a sweeter breakfast bread.
Seeded Multigrain Loaf:
Add 1/4 cup of mixed seeds (sunflower, pumpkin, flax) to the dough for extra nutrition and texture. You can also substitute 1/2 cup of the flour with gluten-free oat flour for a multigrain effect.
Dairy-Free Adaptation:
This recipe is already dairy-free, making it perfect for those with multiple food sensitivities. As noted by Fearless Dining, focusing on keeping the bread “fluffy and light” is essential for that “perfect sandwich bread” texture, regardless of dietary restrictions.
Storing Your Homemade Gluten Free Bread
Gluten-free bread typically has a shorter shelf life than conventional bread due to the lack of preservatives. Here’s how to keep it fresh:
- First 24 hours: Store at room temperature in an airtight container or bread bag after the bread has completely cooled.
- Beyond day one: Slice the entire loaf and freeze what you won’t use within 1-2 days. Gluten-free bread tends to dry out quickly at room temperature.
- Freezing method: Place parchment paper between slices before freezing to make it easier to take out individual slices as needed.
- Reheating: Frozen slices can be toasted directly from the freezer or microwaved for 15-20 seconds to thaw.
- Refreshing technique: If your bread starts to get a bit dry, spritz it lightly with water before reheating to restore moisture.
More Tips for Gluten Free Bread Machine Success
- Measure precisely: Use the spoon-and-level method for measuring flour rather than scooping directly with the measuring cup, which can pack in too much flour.
- Room temperature ingredients: Using room temperature eggs and liquids helps the yeast activate properly and improves the overall texture of the bread.
- Don’t over-mix: Gluten-free bread doesn’t develop gluten, so extended mixing isn’t necessary and can actually damage the structure provided by the xanthan gum.
- Consider humidity: You may need to adjust the liquid slightly based on the humidity in your kitchen. In dry climates or winter, you might need a bit more liquid.
- Experiment with flour blends: Different gluten-free flour blends produce different results. Once you find one that works well in your machine, stick with it for consistent results.
- Use a thermometer: The internal temperature of fully baked gluten-free bread should reach 205-210°F. If in doubt about doneness, check with an instant-read thermometer.
Why You’ll Love This Recipe
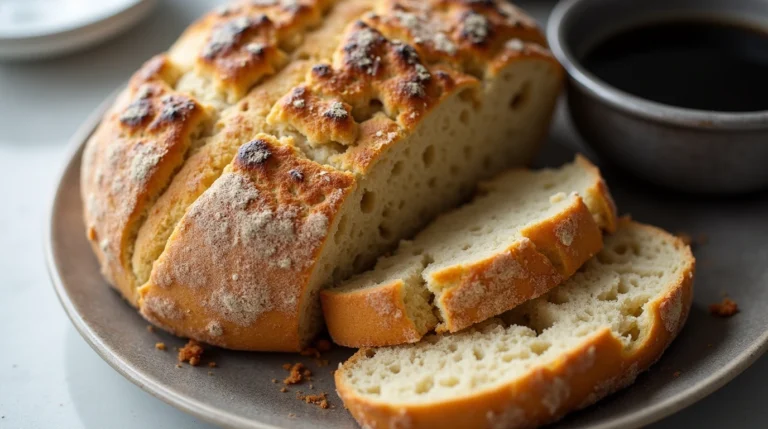
The Gluten Free Alchemist shares that their gluten-free bread machine recipe “has become a weekly staple” in their household, and I believe this recipe will become the same for you. The texture is remarkably close to traditional bread—soft interior with a nicely browned crust that actually holds up to sandwich fillings without crumbling apart.
Beyond the superior texture and taste, you’ll appreciate the simplicity of the process. Unlike many gluten-free recipes that require multiple flours and additives, this recipe streamlines the ingredients while still delivering excellent results. The bread machine does all the work, meaning you can enjoy fresh bread with minimal hands-on time.
Perhaps most importantly, this recipe is reliable. Gluten-free baking can sometimes feel like a science experiment with unpredictable results, but this bread machine method produces consistent loaves time after time. As you become comfortable with the basic recipe, you can confidently explore the variations suggested above to suit your family’s preferences.
Conclusion
Discovering a truly great gluten free bread recipe for bread machines can be life-changing for those navigating a gluten-free lifestyle. No more settling for expensive, disappointing store-bought options or complex recipes that never quite deliver on their promises.
This recipe strikes the perfect balance between simplicity and quality, giving you a loaf that’s worthy of your sandwich fillings, morning toast, or simply enjoying slathered with butter while still warm. The bread machine takes the guesswork out of the process, making this an accessible recipe even for novice bakers.
I encourage you to give this recipe a try and make it your own. As you become more comfortable with gluten-free bread baking, don’t be afraid to experiment with different add-ins or subtle adjustments to suit your taste preferences.
If you do make this recipe, I’d love to hear how it turned out for you! Drop a comment below, share your experience, or ask any questions that arise during your bread-making adventure. Happy baking!
Gluten Free Bread Recipe for Bread Machine: How to Make Perfect Loaves
1. Can I use any gluten-free flour blend?
Yes, but make sure to use a gluten-free all-purpose flour blend that contains xanthan gum or add xanthan gum separately to help with the bread’s structure.
2. How do I store leftover gluten-free bread?
Store the bread in an airtight container at room temperature for up to 2 days. For longer storage, slice the bread and freeze it, placing parchment paper between slices for easy access.
3. Why is my gluten-free bread dense?
Dense bread can result from too much flour or not enough liquid. Ensure accurate measurements and consider adjusting the liquid slightly if needed.
4. Can I make this recipe dairy-free?
Yes! This recipe is already dairy-free. You can use olive oil or vegetable oil instead of butter, and there are no dairy ingredients included.
6. How can I tell if my bread is fully baked?
The internal temperature of the bread should reach 205-210°F. If you don’t have a thermometer, the bread should be golden brown and sound hollow when tapped on the bottom.