Taste the Regal Past: 18th century queen’s cake recipe
Table of Contents
Introduction
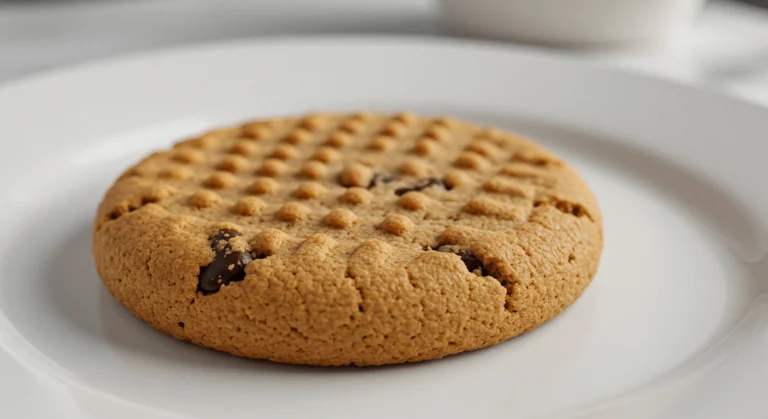
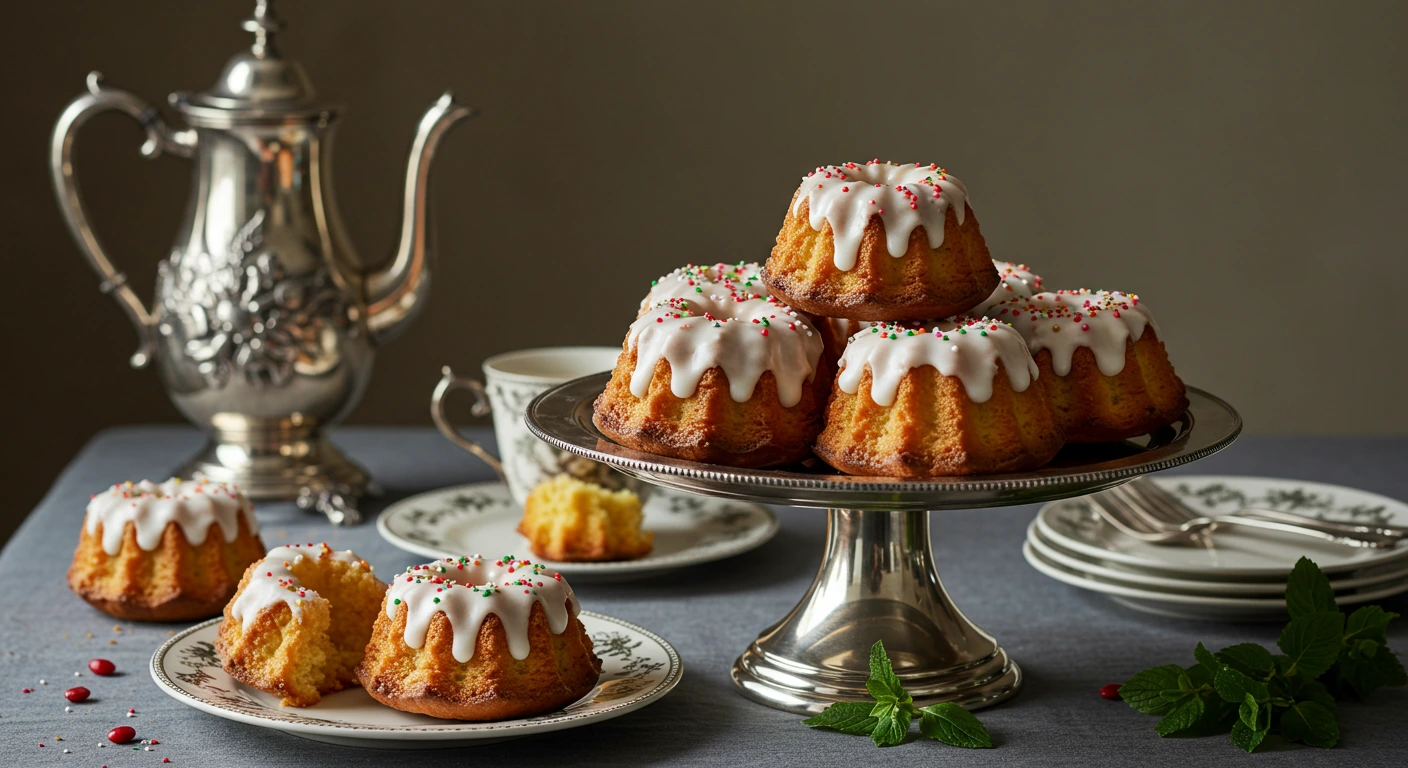
There’s something undeniably captivating about recreating recipes from bygone eras, especially those with royal connections. The 18th century Queen’s Cake recipe is a delightful testament to historical culinary artistry—a rich, moist, and delicately spiced confection that once graced the tables of nobility. These small, elegant cakes feature a harmonious blend of aromatic spices, subtle alcoholic notes, and floral essences that create a truly sophisticated flavor profile.
What makes these cakes particularly special is their remarkable versatility and relatively straightforward preparation, despite their royal pedigree. Unlike many historical recipes that require obscure ingredients or complex techniques, Queen’s Cakes can be prepared with readily available components in under an hour. These delicate treats were popular during afternoon tea services and could be found in many aristocratic households throughout the 1700s, serving as both a delicious indulgence and a status symbol.
What is a Queen’s Cake?
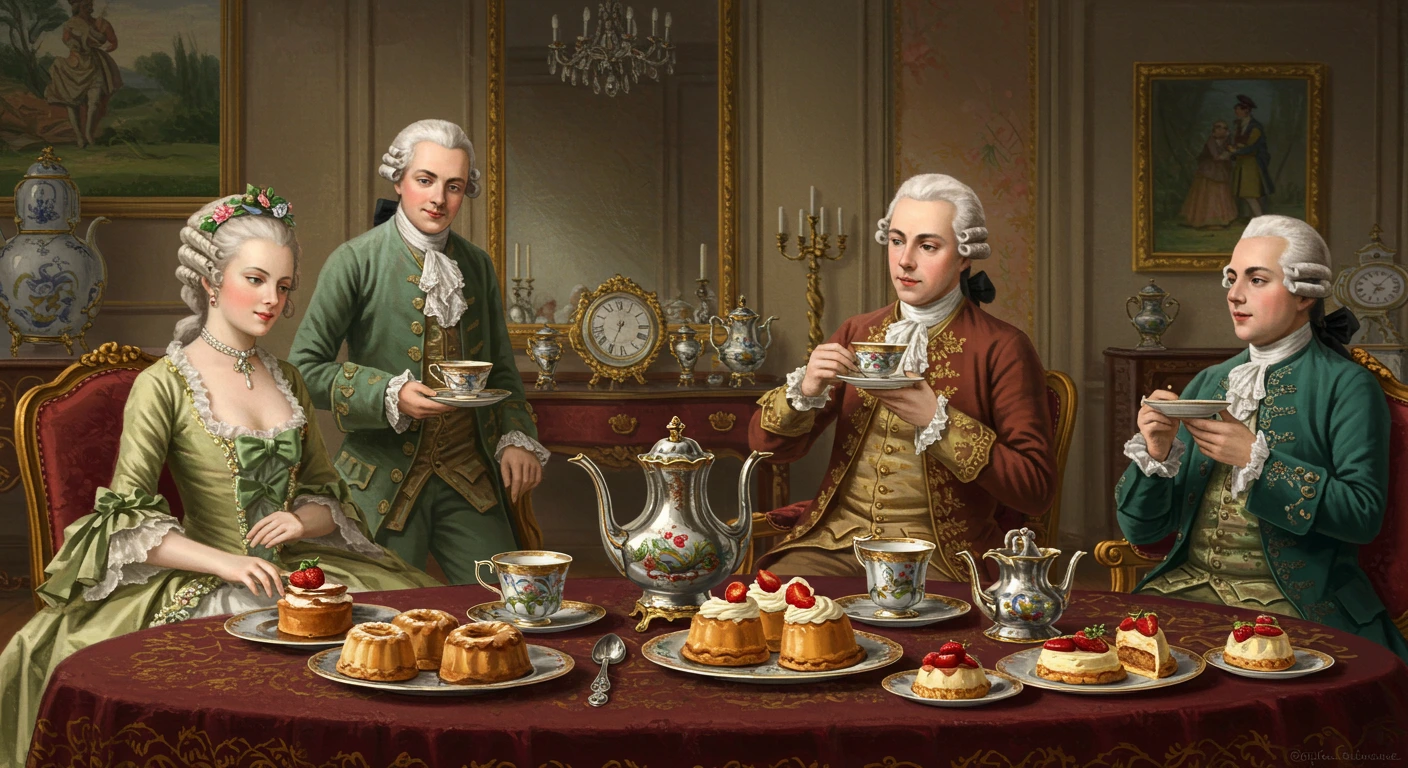
Have you ever wondered what royalty indulged in during the 18th century? Queen’s Cakes were small, rich individual cakes that became tremendously popular in England during the 1700s and were often associated with royal households. The name itself evokes images of elegant drawing rooms and fine porcelain tea services, doesn’t it? These petite cakes were the predecessors to what we might consider cupcakes today, though with a decidedly more sophisticated flavor profile.
As the saying goes, “the way to a person’s heart is through their stomach,” and these cakes certainly won the hearts of the aristocracy. They were typically baked in small individual molds or tins, creating perfect portions for an afternoon tea service. Why not channel your inner royal and treat yourself and your loved ones to these historical delights? I promise they’re worth every moment spent in the kitchen!
Why You’ll Love This 18th Century Queen’s Cake
When it comes to historical recipes, the 18th-century Queen’s Cake truly stands out with its remarkable combination of texture, flavor, and elegant simplicity. The first thing you’ll notice is the cake’s exceptionally tender crumb—a result of the careful balance of butter, sugar, and eggs. Unlike many modern cakes that can sometimes be overly sweet, these royal treats offer a sophisticated flavor profile with notes of aromatic spices, delicate floral essences, and subtle alcoholic undertones that create a truly memorable tasting experience.
From an economic perspective, these cakes represent an affordable luxury. While the ingredient list might appear somewhat extensive at first glance, many components like spices and flavorings are used in small quantities and can be repurposed for numerous other recipes. Compared to purchasing specialty bakery items, making these historical cakes at home can be surprisingly cost-effective while delivering superior freshness and flavor.
How to Make 18th Century Queen’s Cake
Quick Overview
Creating authentic 18th-century Queen’s Cakes is remarkably straightforward, yielding deliciously tender, spiced little cakes that perfectly balance rich butter with aromatic spices and subtle alcohol notes. The entire process requires approximately 40 minutes of active preparation, plus 15-17 minutes of baking time, making them accessible even for weekday baking projects. The combination of rose water (or lemon extract), white wine, and brandy creates a uniquely sophisticated flavor profile that distinguishes these cakes from modern counterparts.
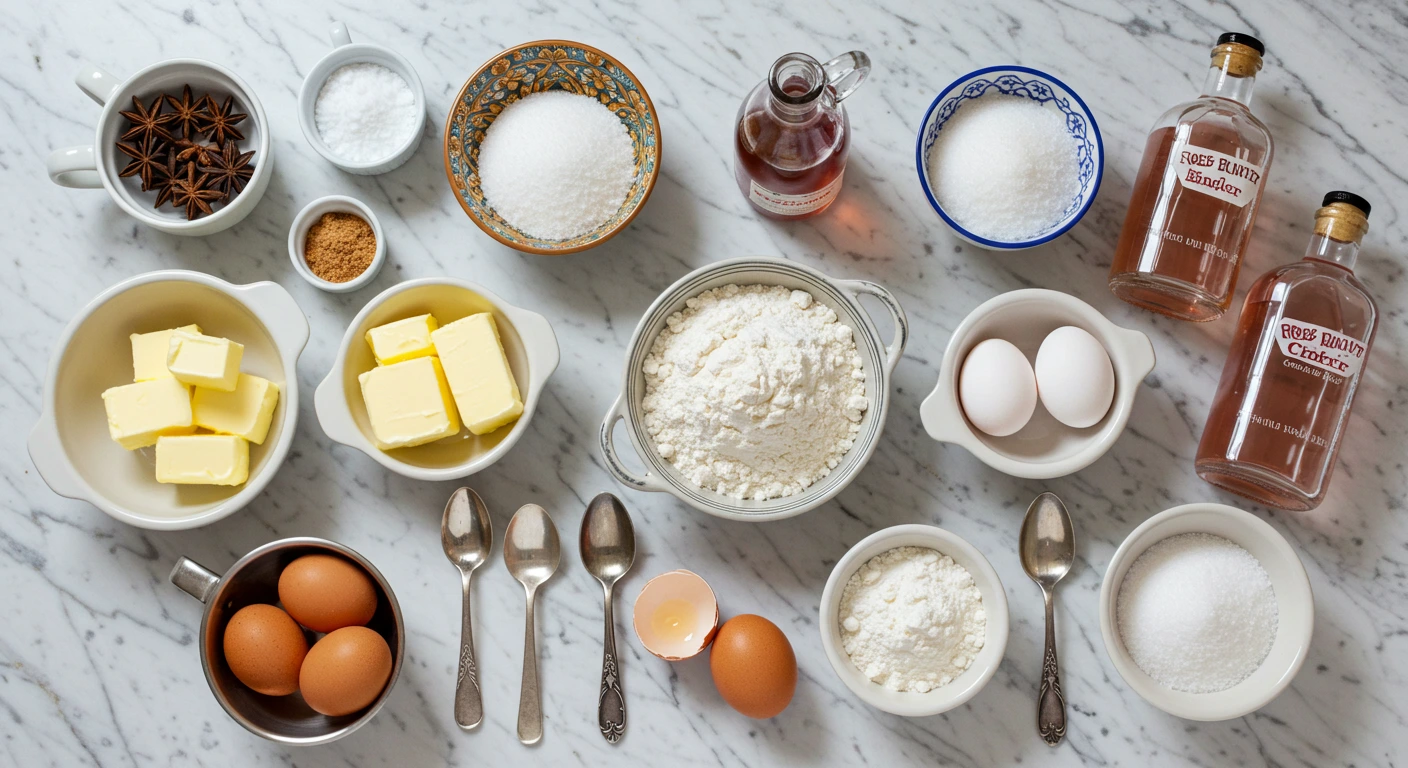
Key Ingredients for 18th Century Queen’s Cake
- 1/2 pound (225g) baker’s sugar
- 1/2 pound (225g) butter, softened
- 7 ounces (200g) sifted flour
- 4 eggs
- 1 tablespoon white wine
- 1 tablespoon brandy
- 1 tablespoon rose water (or 6 drops of lemon extract)
- 1/4 teaspoon ground mace
- 1/4 teaspoon ground cinnamon
- Half a nutmeg, grated
- Optional for icing: Egg whites, sugar, rose water/lemon extract, red and green nonpareils
Step-by-Step Instructions
- Prepare Your Workspace: Begin by preheating your oven to 350°F (175°C). Grease your muffin tins or small cake molds thoroughly to prevent sticking, as historical recipes didn’t have the benefit of modern non-stick surfaces.
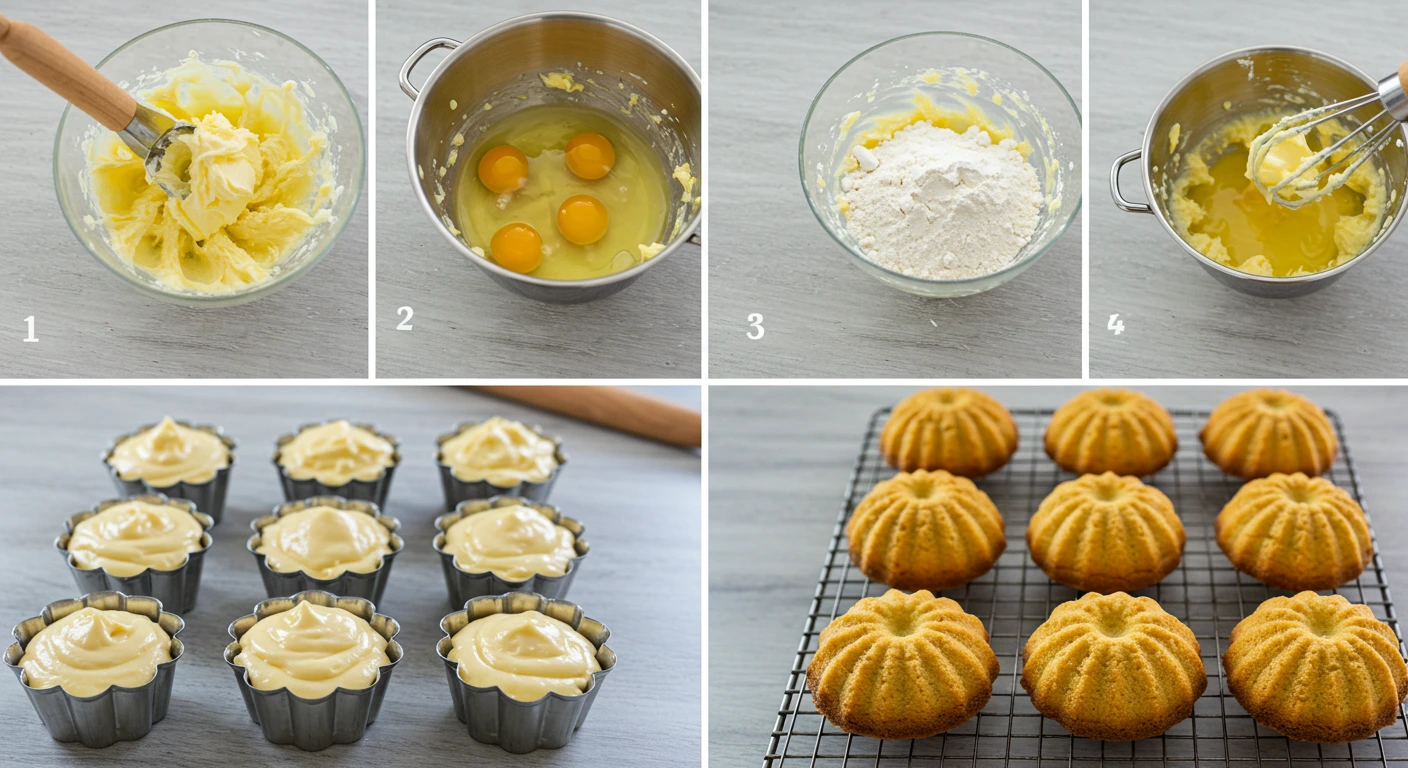
- Cream Butter and Sugar: In a large mixing bowl, combine the softened butter and baker’s sugar. Beat these ingredients together until the mixture becomes noticeably lighter in color and fluffier in texture, approximately 3-4 minutes if using an electric mixer or 5-6 minutes by hand. According to historical culinary practices, this thorough creaming process was essential for achieving the proper texture in 18th-century cakes.
- Prepare the Eggs: In a separate bowl, beat the eggs until they become smooth and thickened slightly. This step helps create the delicate structure characteristic of these historical cakes.
- Combine Wet and Dry Ingredients: Gradually add the beaten eggs and sifted flour to your butter-sugar mixture, alternating between the two. Begin and end with flour additions, incorporating each addition completely before adding the next. This methodical approach prevents the batter from curdling and ensures a smooth, consistent texture.
- Add Flavorings: Incorporate the ground mace, cinnamon, and freshly grated nutmeg into your batter. Follow with the white wine, brandy, and rose water (or lemon extract). Mix thoroughly for about one minute to ensure the flavorings are evenly distributed throughout the batter.
- Fill the Tins: Spoon the prepared batter into your greased muffin tins or cake molds, filling each cavity approximately three-quarters full to allow room for rising.
- Bake to Perfection: Place the filled tins in your preheated oven and bake for 15-17 minutes. The cakes are done when they develop a golden-brown edge and begin to pull away slightly from the sides of the tin. A cake tester or toothpick inserted into the center should come out clean.
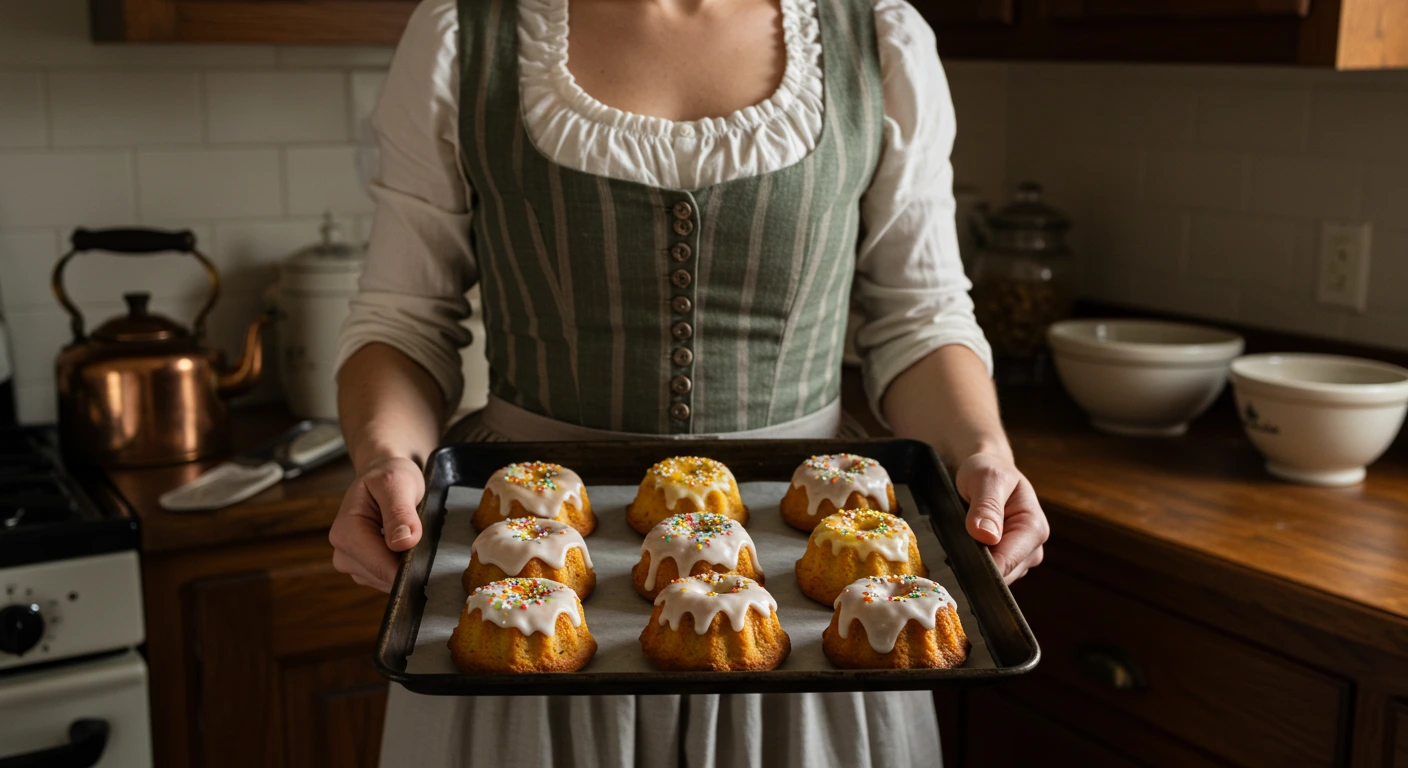
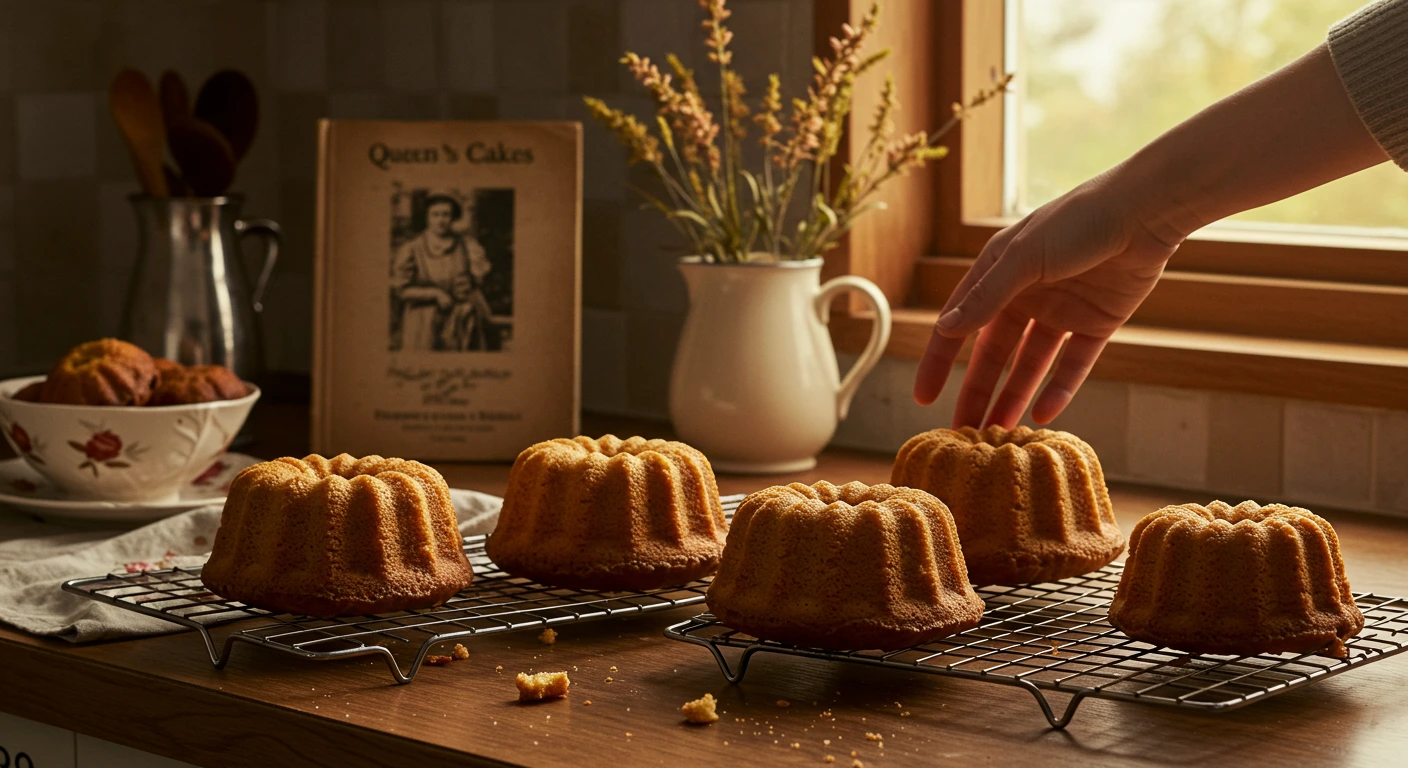
- Cool and Finish: Allow the cakes to cool completely in their tins before carefully removing them. For an authentic 18th-century presentation, prepare a simple icing by beating egg whites until stiff, then mixing with sugar and a few drops of rose water or lemon extract. Apply this icing to the cooled cakes and, if desired, decorate with traditional red and green nonpareils.
What to Serve 18th Century Queen’s Cake With
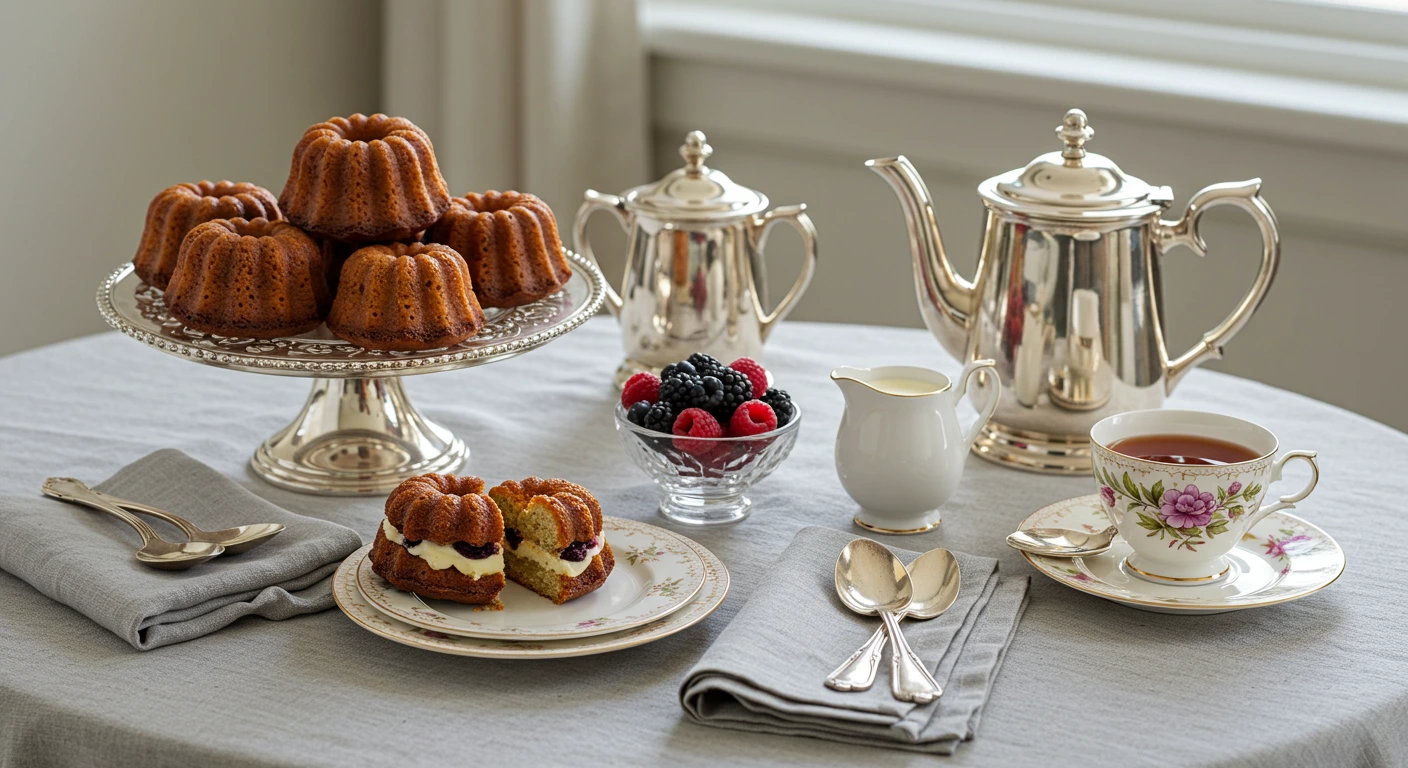
These delicate Queen’s Cakes pair exquisitely with several traditional accompaniments that enhance their sophisticated flavor profile. Consider serving them alongside a properly brewed pot of tea such as Earl Grey or Darjeeling for an authentic 18th-century experience. The slight astringency of the tea provides a perfect counterbalance to the sweet, spiced notes of the cakes.
For a more elaborate presentation, accompany these cakes with fresh seasonal berries dressed with a light sprinkling of sugar, or a dollop of lightly whipped cream infused with a touch of brandy. In cooler months, a warm spiced wine or mulled cider complements the aromatic spices in the cakes beautifully, creating a truly seasonal indulgence.
Top Tips for Perfecting 18th Century Queen’s Cake
Achieving an authentic and delicious batch of 18th-century Queen’s Cakes requires attention to a few key details that can significantly enhance your results. First and foremost, ingredient temperature plays a crucial role—ensure your butter is properly softened but not melted and that your eggs are at room temperature before beginning. This promotes proper emulsification and results in a more uniform and tender crumb.
When it comes to substitutions, modern bakers can make several adaptations while maintaining historical authenticity. If rose water proves difficult to find, orange flower water makes an excellent alternative that was also used during the period. Similarly, if you prefer to avoid alcohol, replace the white wine and brandy with apple juice and a few drops of almond extract to approximate the complexity of flavor without the spirits.
One common mistake to avoid is overmixing the batter after adding the flour. Extended mixing develops gluten, resulting in tough, dense cakes rather than the tender, delicate texture desired. Mix just until the ingredients are incorporated, then stop—this respects the historical techniques that preceded our modern understanding of gluten development but produced excellent results nonetheless.
Storing and Reheating Tips
To maintain the exceptional quality of your 18th-century Queen’s Cakes, proper storage is essential. These delicate confections are best enjoyed the day they are made, when their tender crumb and subtle flavors are at their peak. However, they can be successfully stored for 1-2 days in an airtight container at room temperature, ideally in a cool, dry location away from direct sunlight.
If you need to extend their shelf life further, refrigeration is an option, though it may slightly firm the texture. Place the cakes in an airtight container with parchment paper between layers to prevent sticking, and bring them to room temperature for about 30 minutes before serving to restore their optimal texture and allow the flavors to fully express themselves.
For the best experience when enjoying stored Queen’s Cakes, consider gently warming them in a 300°F (150°C) oven for approximately 5 minutes. This brief warming restores some of the fresh-baked quality without drying the cakes. Alternatively, a few seconds in the microwave can rejuvenate them, though this method requires careful timing to avoid making them tough.
Historical Variations of Queen’s Cakes
Throughout the 18th century, various regional and temporal adaptations of Queen’s Cakes emerged across England and its colonies. The following table outlines some notable variations, their distinctive characteristics, and the influences that shaped them:
| Variation | Key Ingredients | Regional Origin | Historical Context |
|---|---|---|---|
| Classic Queen’s Cake | Rose water, mace, nutmeg, white wine | London | Popular in aristocratic households, often served at afternoon tea |
| Colonial Queen’s Cake | Molasses, dried fruits, less alcohol | American Colonies | Adapted to available ingredients in the New World |
| Spiced Queen’s Cake | Higher concentration of cinnamon, cloves, allspice | Northern England | Developed in regions with strong trade connections to spice merchants |
| Citrus Queen’s Cake | Orange and lemon zest, lemon juice instead of alcohol | Southern England | Reflected greater access to Mediterranean imports |
| Late Georgian Queen’s Cake | Currants, caraway seeds, less floral essences | Nationwide | Evolution of the recipe as Georgian era progressed toward Victorian period |
This evolution of Queen’s Cakes demonstrates how culinary traditions adapt to regional availability, cultural preferences, and historical developments. Each variation maintained the fundamental identity of the Queen’s Cake while incorporating unique elements that reflected its specific context.
The Royal Heritage of Queen’s Cakes
The association between these delicate cakes and royalty extends beyond their regal name. Historical records suggest that variations of these cakes were indeed served in royal households throughout the 18th century, particularly during the reigns of the Hanoverian monarchs. Queen Charlotte, wife of George III, was known to have a refined palate and appreciation for delicate pastries, potentially contributing to the popularity of these cakes among the aristocracy.
According to culinary historians, the recipe was likely standardized and published in various cookbooks of the era, including those by influential authors like Hannah Glasse and Eliza Smith. These publications helped disseminate royal-adjacent recipes to the broader gentry and aspiring middle classes, allowing them to emulate aspects of aristocratic dining in their own homes.
The specific recipe we’re exploring today draws from Eliza Leslie’s 1828 compilation, which itself represents an evolution of earlier 18th-century formulations. While slightly later than our focal period, Leslie’s recipe captures the essence of Georgian-era Queen’s Cakes while incorporating refinements that emerged through decades of culinary development.
Final Thoughts
Recreating an 18th-century Queen’s Cake offers more than just a delicious baking project—it provides a tangible connection to culinary history and the sophisticated sensibilities of a fascinating era. As you savor these delicately spiced, tender cakes, consider the countless hands that have prepared similar recipes over centuries, from palace kitchens to modest homes seeking a touch of refinement.
The enduring appeal of these cakes speaks to the timelessness of well-balanced flavors and quality ingredients. Despite the centuries that separate us from their origin, the combination of butter, sugar, spices, and subtle flavorings continues to delight modern palates, proving that excellence in baking transcends historical periods.
I encourage you to embrace this journey into historical gastronomy by trying the recipe yourself. Share your creations with friends and family, perhaps alongside a brief telling of the cakes’ royal connections and historical significance. In doing so, you’ll not only enjoy a delicious treat but also participate in the preservation and celebration of culinary heritage that might otherwise be forgotten in our fast-paced modern world.
Have you tried other historical recipes? I’d love to hear about your experiences in the comments below!
What is a Queen’s Cake?
Queen’s Cake is a rich, spiced individual cake from 18th-century England featuring mace, cinnamon, nutmeg, rose water, and spirits. These cakes were served during aristocratic tea gatherings and considered both delicious treats and status symbols.
Can I make Queen’s Cakes without alcohol?
Yes, substitute white wine with apple juice and brandy with vanilla extract plus a few drops of almond extract to maintain the flavor complexity.
How do these differ from modern cupcakes?
Queen’s Cakes have a more complex spice profile, denser texture from higher butter content, and use simple glaze rather than thick frosting.
How long do they stay fresh?
Best enjoyed same-day but can be stored in an airtight container at room temperature for 1-2 days or refrigerated for up to 5 days.